

The Nx Cloud + Bitbucket Integration lets you access the result of every run—with all its logs and build insights—straight from your PR.
Using an API Token
Section titled “Using an API Token”API tokens can be generated on a user account level and can be scoped to specific applications like Bitbucket. This is the recommended approach for Nx Cloud integration.
An API token is a secure credential that allows scripts and other processes to authenticate with Bitbucket Cloud applications. You should treat API tokens as securely as any other password.
Creating an API Token
Section titled “Creating an API Token”- First, navigate to your BitBucket user security settings
- Select "Create API token with scopes"
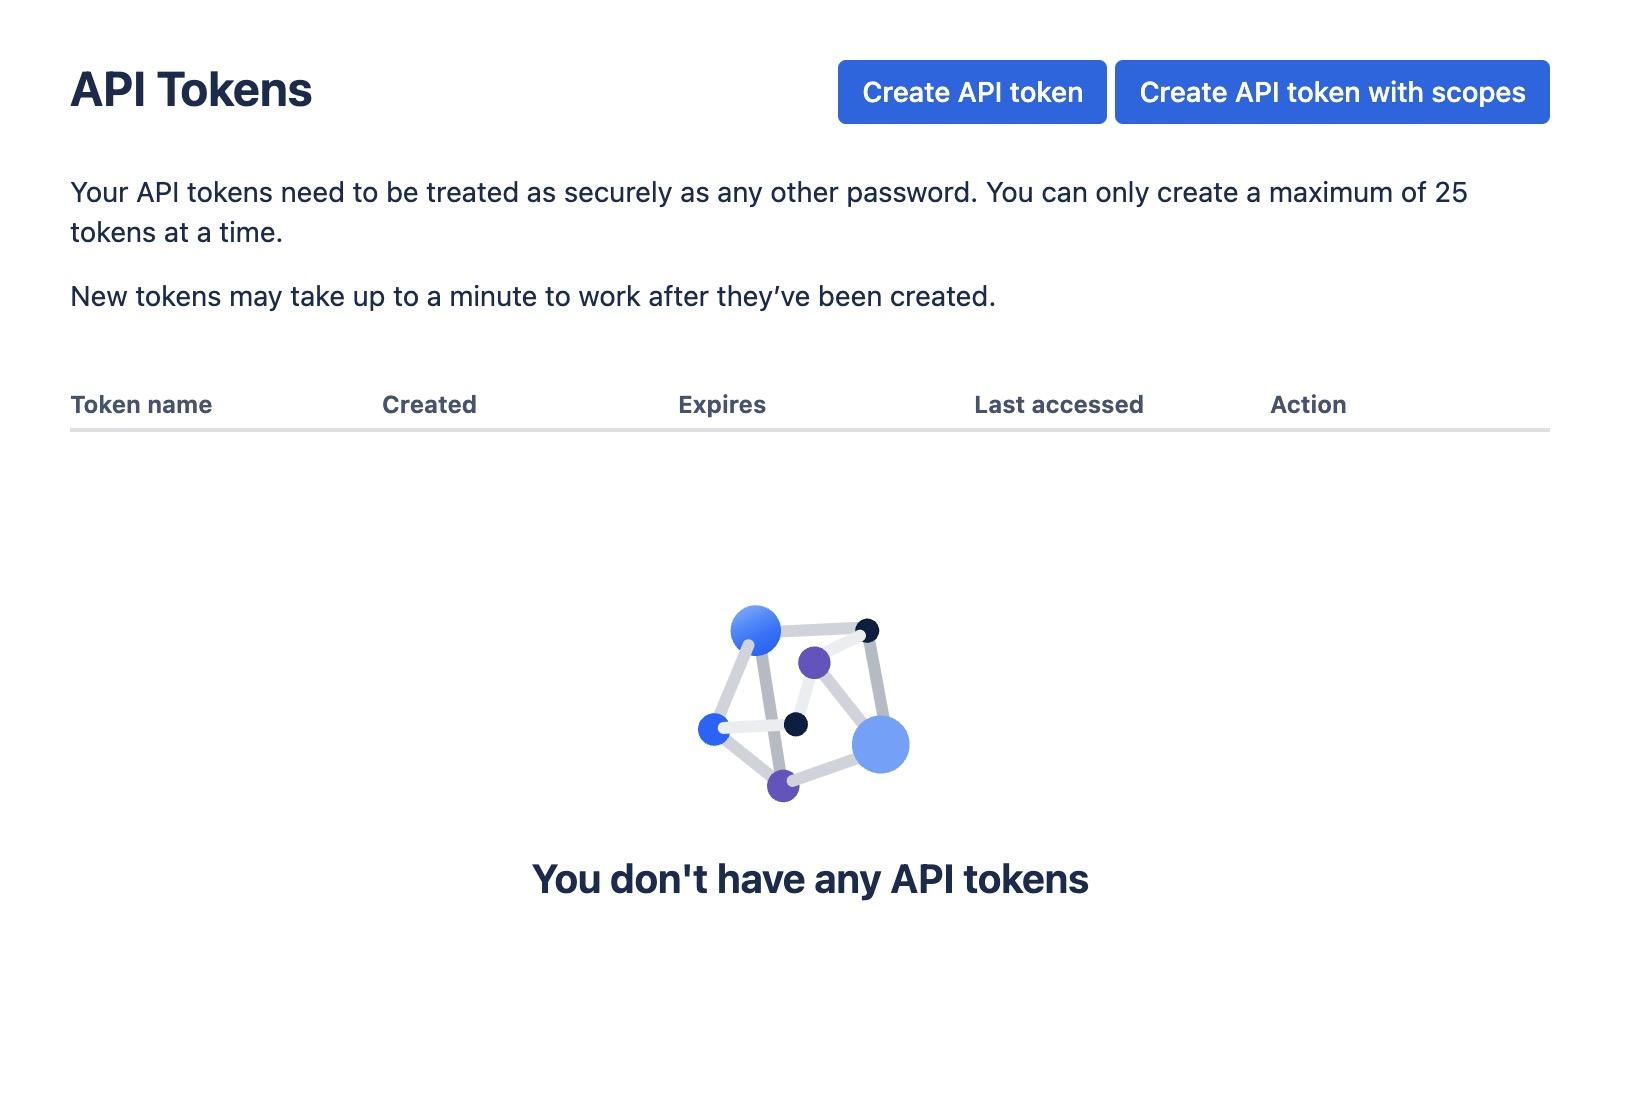
Give your token a name and proceed to the next step
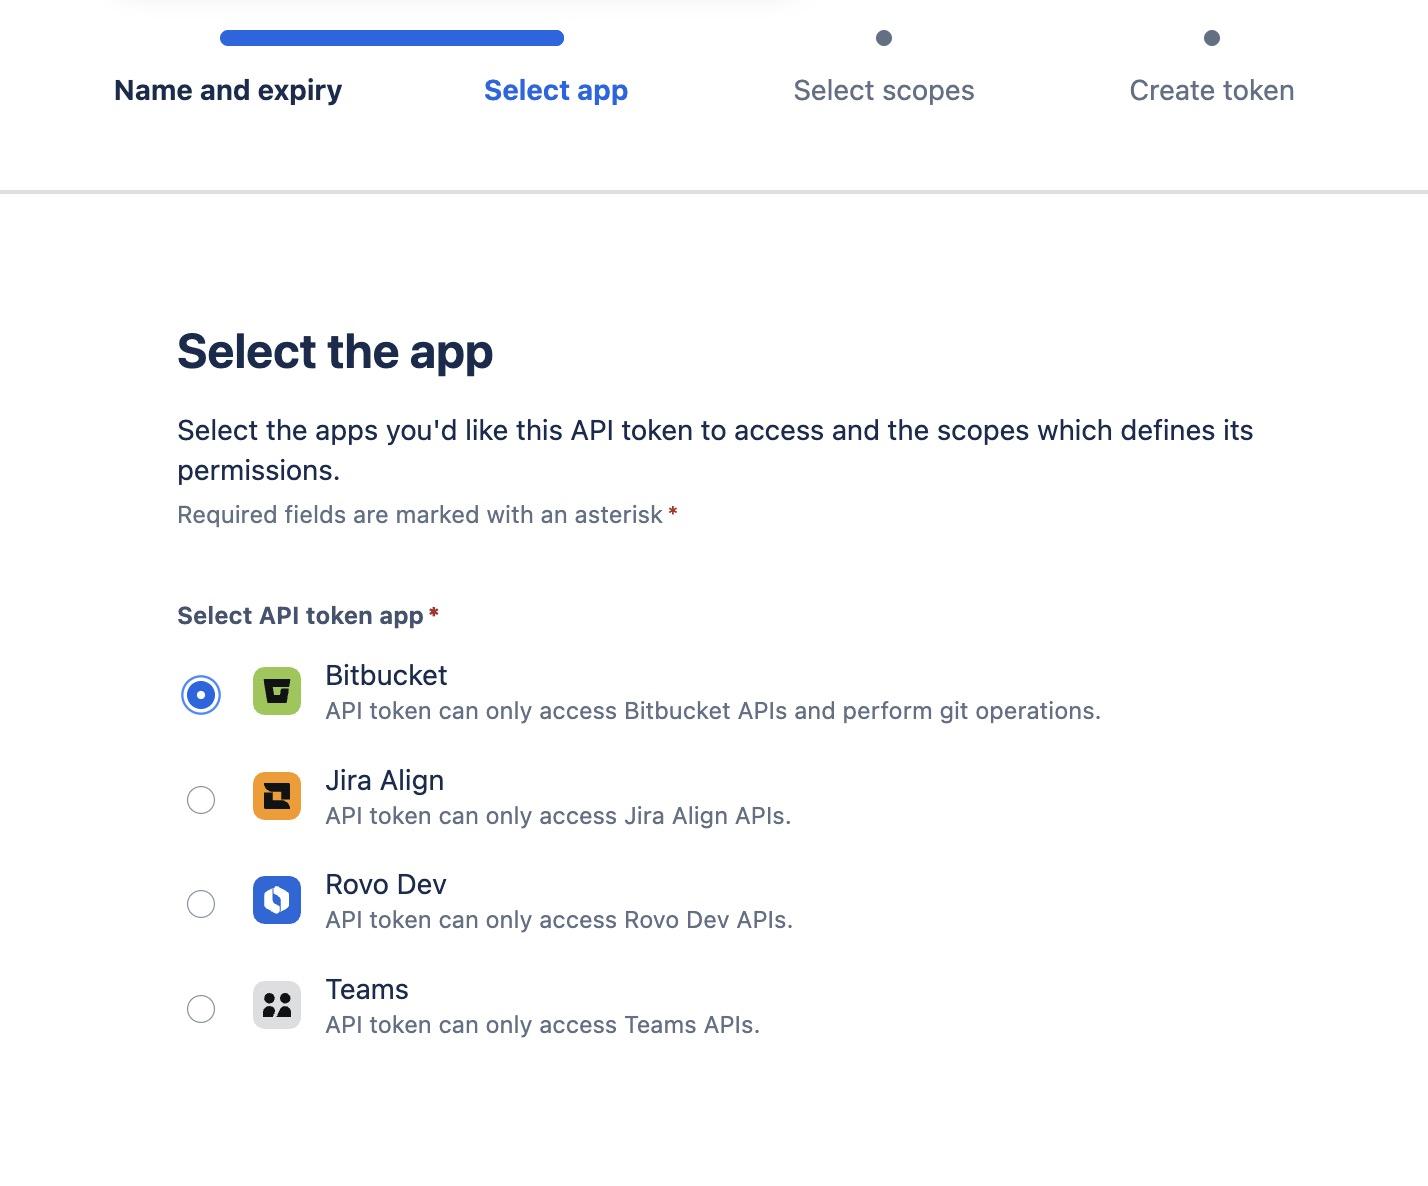
When prompted to select the app, choose Bitbucket. This ensures the API token can only access Bitbucket APIs and perform git operations:
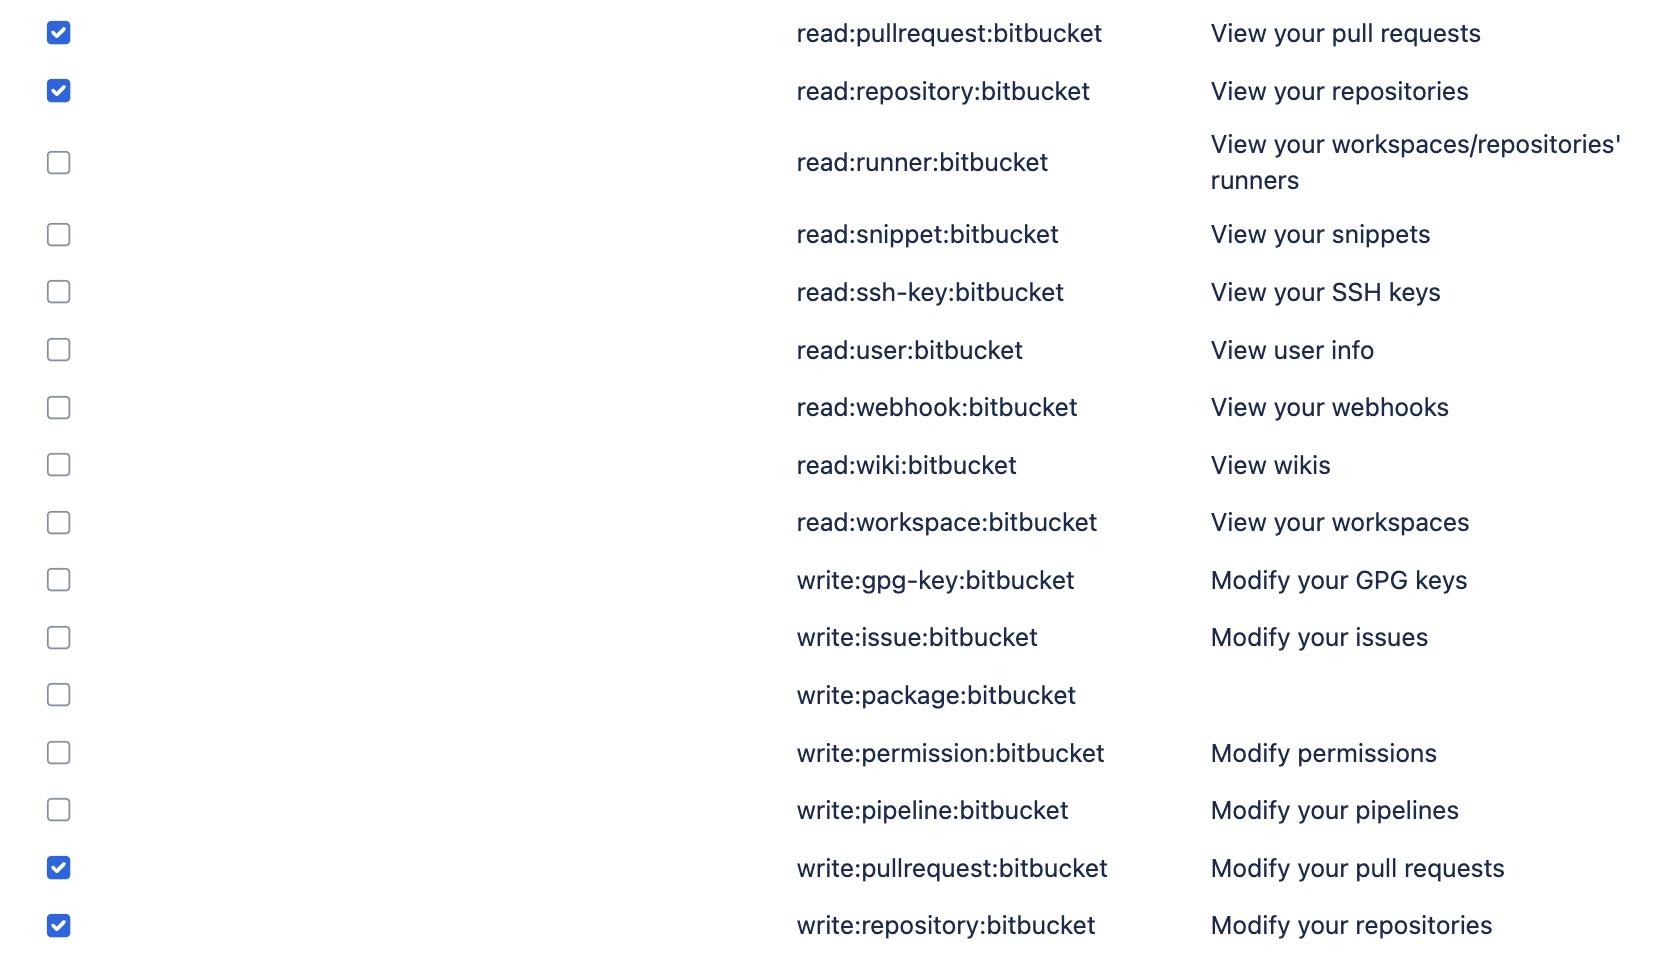
- The required permissions for Nx Cloud are:
read:pullrequest:bitbucket- to read pull request informationwrite:pullrequest:bitbucket- to write comments on pull requestsread:repository:bitbucket- to read repository contentswrite:repository:bitbucket- to write files to the repository
- Click "Create token" and copy your newly created API token
Configuring Nx Cloud with your API Token
Section titled “Configuring Nx Cloud with your API Token”Once your API token is created, head back to your workspace settings on NxCloud to set up the BitBucket integration:
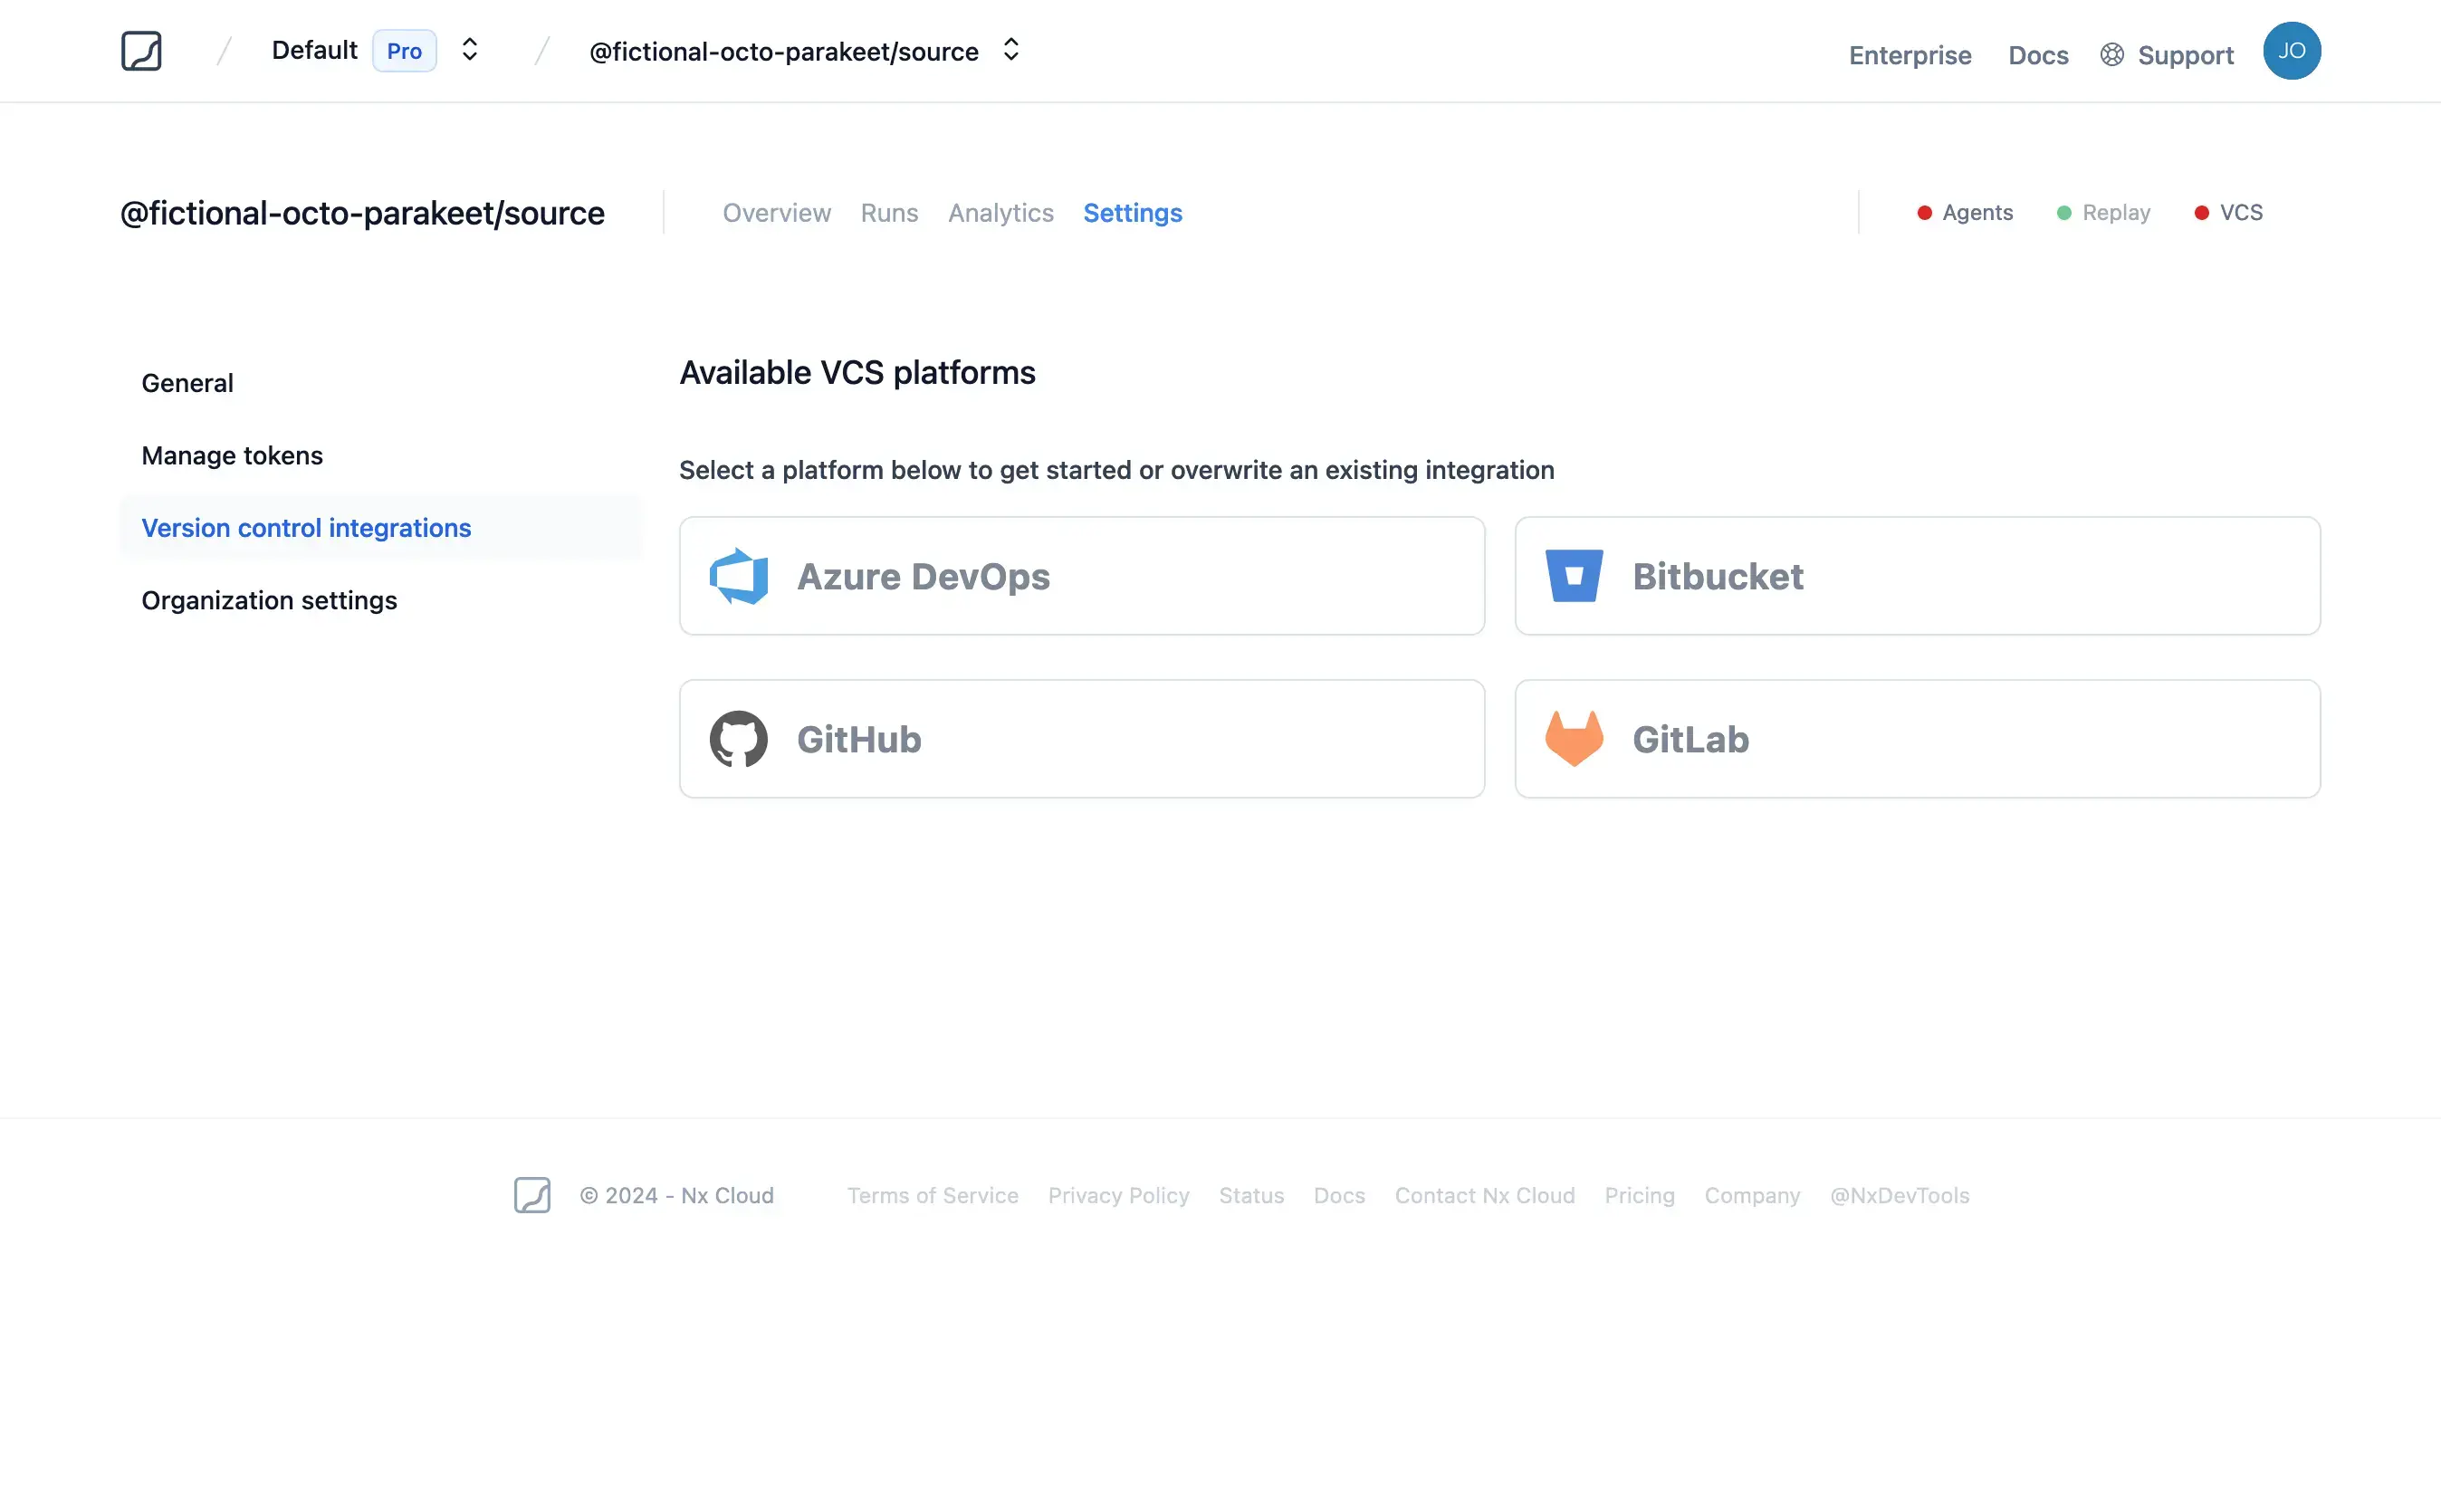
- Fill-in all the required fields for selecting your BitBucket repository
- Username is found on the account settings screen (it is not your email address)
- Paste your API token created earlier into the API Token box
- Click "Connect" to finish the setup
Using an HTTP Access Token
Section titled “Using an HTTP Access Token”If you are using BitBucket Data Center (on-prem) you need to enable an HTTP access token for authentication.
The minimum required permissions are write access to the repository:

Once the Access Token is created, save it in a secure location and then head back to your workspace settings on NxCloud and let's set up a BitBucket integration:
- Fill-in all the required fields for selecting your Bitbucket repository
- Username is found on the account settings screen (it is not your email address)
- Paste your Access Token created earlier into the Access Token box
- Make sure you give NxCloud the URL of your BitBucket instance (this can be in the simple form of
https://your-bitbucket-instance.com) - Click "Connect" to finish the setup